Introduction
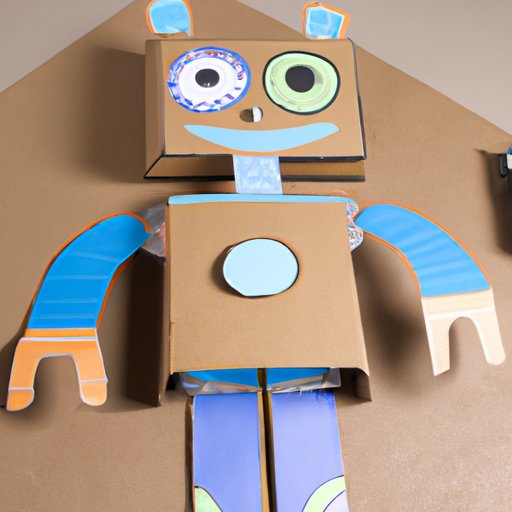
Making a robot out of cardboard is a great way to explore science, engineering, and technology while having fun. Cardboard robots are versatile and can be used to create educational projects or just as decorations. To build a cardboard robot, all you need is some basic supplies, a few tools, and a bit of creativity.
A cardboard robot is made from cardboard and other materials such as paper, glue, tape, markers, and even fabric. Cardboard robots can range from simple to complex, but all require some level of assembly and craftsmanship. The end result is a unique and creative robot that can be used for a variety of purposes.
Overview of Benefits of Making a Cardboard Robot
Making a cardboard robot has many benefits. It can help develop problem-solving skills and foster creativity. Building a robot out of cardboard allows for experimentation with structure, design, and materials. It also encourages recycling since most of the materials used can be found around the house or repurposed from other projects.
According to a study conducted by the University of California, Davis, “building a robot out of cardboard helps children learn important skills such as sequencing, problem solving, and communication. It also provides an opportunity for children to use their imagination and express their creativity.”
Step-by-Step Guide: How to Make a Cardboard Robot
Making a robot out of cardboard is not as difficult as it may sound. With the right materials and tools, anyone can build a cardboard robot. Here is a step-by-step guide on how to make a cardboard robot.
Materials Needed
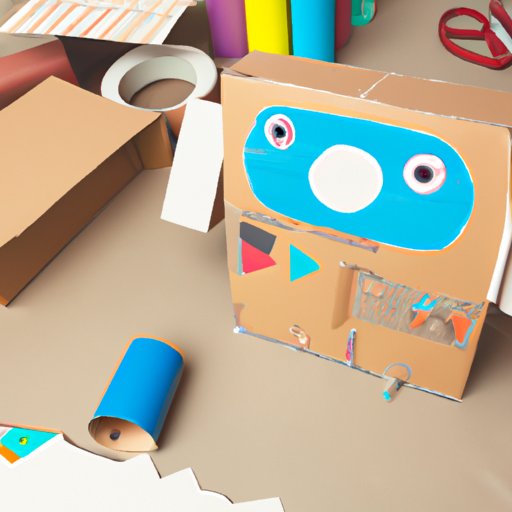
The materials needed for making a cardboard robot include: cardboard, scissors, a ruler, a pencil, glue, tape, markers, and any other accessories or decorations you want to add.
Step-by-Step Instructions
1. Start by gathering all of the materials needed. Make sure to have plenty of cardboard available so that there is enough to construct the robot.
2. Use a ruler and pencil to draw the shape of the robot onto the cardboard. This will be the base of the robot.
3. Cut out the shape of the robot using scissors. Be sure to cut the edges of the robot carefully so that it looks neat.
4. Begin assembling the pieces of the robot. Use tape and glue to hold the pieces together. Try to keep the pieces as close together as possible so that the robot looks uniform.
5. Add any accessories or decorations to the robot. This could include markers, buttons, fabric, and any other materials you want to use.
6. Once the robot is assembled, it is ready to use! Let your imagination run wild and have fun with your new creation.
Crafting with Kids: Creating a Fun Cardboard Robot
Making a cardboard robot with kids is a great way to teach them about science, engineering, and technology. It is also a fun activity that can help foster creativity. Here are some tips for crafting a cardboard robot with kids.
Choosing Appropriate Materials
When crafting a cardboard robot with kids, it is important to choose materials that are safe and age-appropriate. For younger children, avoid using sharp tools such as scissors and knives. Instead, opt for materials such as cardboard, markers, glue, and tape.
Designing the Robot
Designing the robot is an important step in the process. Encourage kids to be creative and come up with their own ideas. Have them draw the robot on a piece of paper first before transferring it to cardboard. This will help them get an idea of what the robot will look like before they start building.
Assembling the Pieces
Once the design is complete, it is time to start assembling the pieces. Help kids cut out the shapes and assemble the pieces. Show them how to use glue and tape to secure the pieces together.
Decorating and Finishing
Adding details and decorations to the robot is the last step. Have kids use markers, paint, fabric, and other materials to give the robot its own unique personality. Once the decorations are complete, the robot is finished!
Designing Your Own Cardboard Robot from Scratch
Designing your own cardboard robot from scratch is a great way to express your creativity. It requires some planning, but the end result can be very rewarding. Here are some tips for designing your own cardboard robot from scratch.
Brainstorming Ideas
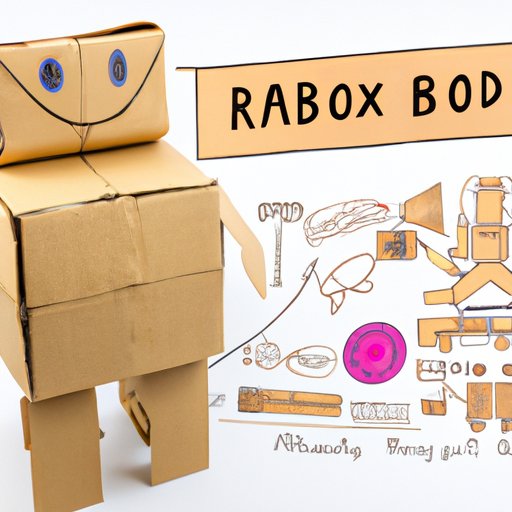
Before starting the project, it is important to brainstorm ideas. Think about what type of robot you want to make and what materials you will need. Draw sketches of the robot and write down notes on how it will be constructed.
Selecting Materials
Once you have an idea of what you want to make, it is time to select the materials. Choose cardboard that is sturdy and easy to work with. Other materials such as markers, glue, tape, and fabric can be used to decorate the robot.
Designing the Structure
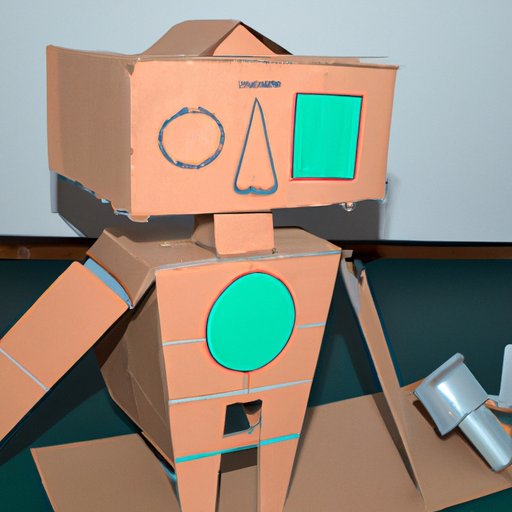
The next step is to design the structure of the robot. Draw the shape of the robot on cardboard and cut it out. Make sure to leave enough room for the arms, legs, and head.
Building the Robot
Now it is time to start putting the pieces together. Use tape and glue to secure the pieces together. Don’t forget to add any accessories or decorations to the robot.
Finishing Touches
The last step is to add the finishing touches to the robot. Paint, markers, fabric, and other materials can be used to give the robot character. Once the robot is finished, it is ready to show off!
The Art of Making a Cardboard Robot: Tips and Tricks
Making a cardboard robot is an art form. It requires patience, precision, and creativity. Here are some tips and tricks for making a successful cardboard robot.
Selecting the Right Glue
Using the right type of glue is essential when making a cardboard robot. Look for a strong adhesive that won’t weaken over time. Avoid using hot glue as it can cause the cardboard to warp.
Cutting Precisely
Cutting the pieces of the robot precisely is important for making a successful robot. Take your time and use a ruler to ensure that the pieces are cut accurately.
Utilizing Stencils
Using stencils can help make the process of cutting out the pieces easier. Stencils can be purchased online or made at home. They can also be used to make intricate designs on the robot.
Adding Details and Accessories
Adding details and accessories to the robot can help bring it to life. Use markers, paint, fabric, and other materials to give the robot a unique personality.
Building a Cardboard Robot: A Beginner’s Guide
Building a cardboard robot can be intimidating for beginners. But with the right materials and tools, anyone can make a successful robot. Here is a beginner’s guide to building a cardboard robot.
Gather Materials
The first step is to gather all of the materials needed for the project. Make sure to have plenty of cardboard available so that there is enough to construct the robot.
Choose a Template or Design
Next, choose a template or design for the robot. There are many templates available online that can be printed out and used as a guide. Or, you can design the robot from scratch.
Assemble the Pieces
Once the design is chosen, it is time to start assembling the pieces. Use tape and glue to secure the pieces. Try to keep the pieces as close together as possible so that the robot looks uniform.
Decorate and Add Details
Adding details and decorations to the robot is the last step. Use markers, paint, fabric, and other materials to give the robot its own unique personality.
Finalize and Showcase the Creation
Once the robot is finished, it is time to show it off! Put the robot on display and let everyone admire your creation.
Conclusion
Making a robot out of cardboard is a great way to explore science, engineering, and technology while having fun. Building a robot out of cardboard can help develop problem-solving skills and foster creativity. With the right materials and tools, anyone can make a successful cardboard robot.
To make a cardboard robot, all you need is some basic supplies, a few tools, and a bit of creativity. Start by gathering the materials and drawing the shape of the robot onto the cardboard. Then, cut out the pieces and assemble them using glue and tape. Finally, add any accessories or decorations to the robot. Now it is ready to use!
Making a cardboard robot with kids can be a fun and educational activity. Choose materials that are safe and age-appropriate. Encourage kids to be creative and come up with their own ideas. Show them how to use glue and tape to secure the pieces together. Finally, add details and decorations to the robot to give it a unique personality.
Designing your own cardboard robot from scratch is a great way to express your creativity. Start by brainstorming ideas and selecting materials. Draw the shape of the robot on cardboard and cut it out. Assemble the pieces using glue and tape. Finally, add the finishing touches to the robot. Now it is ready to show off!
Making a cardboard robot is an art form. Select the right type of glue and take your time when cutting the pieces. Utilizing stencils can help make the process easier. Finally, add details and accessories to the robot to give it character.
Building a cardboard robot is an enjoyable activity for all ages. Follow these steps and tips to make a successful cardboard robot. With a little bit of patience and creativity, anyone can make a unique and creative robot.
(Note: Is this article not meeting your expectations? Do you have knowledge or insights to share? Unlock new opportunities and expand your reach by joining our authors team. Click Registration to join us and share your expertise with our readers.)