Introduction
Automation is one of the most powerful tools available in digital audio workstations (DAWs) like FL Studio. It allows producers to control certain aspects of their sound over time, providing more dynamic and interesting results. Automation clips are the tool that allows users to easily create and modify automation data in FL Studio.
Understand the Basics of Automation Clips in FL Studio
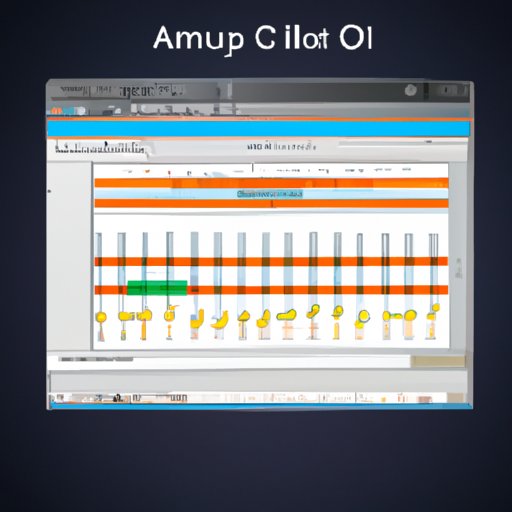
An automation clip is a digital representation of a parameter’s value over time. It can be used to automate almost any parameter in FL Studio, including volume, panning, effects, and others. Automation clips can be created manually or by recording the movements of a controller. They are then displayed in the Playlist window of FL Studio, where they can be edited and manipulated.
To create an automation clip, simply select the parameter you wish to automate, and then click the “Create Automation Clip” button. You can then add points to the clip, which will determine the parameter’s value at different points in time. You can also adjust the length of the clip, as well as the speed at which it plays back.

Create an Automation Clip in FL Studio
Creating an automation clip in FL Studio is easy and straightforward. Follow these steps to get started:
- Select the parameter you wish to automate.
- Click the “Create Automation Clip” button.
- Add points to the clip to determine the parameter’s value at different points in time.
- Adjust the length and speed of the clip.
Once the automation clip has been created, you can edit it further by adding additional points, changing the shape of the curve, or adjusting the speed of the clip.

Learn How to Edit Automation Clips in FL Studio
FL Studio provides a variety of editing options for automation clips. You can resize the clip, move it around within the timeline, copy and paste sections of the clip, or even reverse the clip. You can also add additional points to the clip, or delete existing points.
In addition, you can adjust the shape of the curve by dragging the points up or down. The curve can be made linear or curved, depending on the desired effect. Additionally, you can adjust the speed of the clip by selecting the “Speed” option from the drop-down menu.
Utilize the Envelope Controller in FL Studio for Automation
The Envelope Controller in FL Studio is a powerful tool for automating parameters. It allows you to set up a series of points that control the parameter’s value over time. You can adjust the shape of the curve between each point, as well as the speed of the automation.
The Envelope Controller can be used to automate a wide range of parameters, including volume, panning, effects, and more. It’s an incredibly versatile tool that can be used to create complex and dynamic sounds.

Assign Multiple Parameters to a Single Automation Clip
In addition to controlling a single parameter with an automation clip, you can also assign multiple parameters to a single clip. This allows you to control multiple parameters simultaneously, making it easier to achieve complex and interesting sounds.
To assign multiple parameters to a single clip, simply select the parameters you wish to control and drag them onto the same automation clip. You can then adjust the values of each parameter independently, creating intricate patterns and textures.
Use the Step Sequencer in FL Studio for Automation
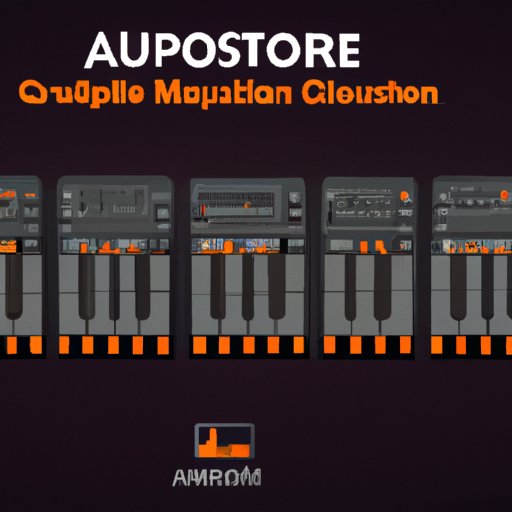
The Step Sequencer in FL Studio is another powerful tool for automating parameters. It allows you to set up a series of steps that control the parameter’s value over time. You can adjust the length of the sequence, as well as the speed and shape of the automation.
The Step Sequencer is an ideal tool for creating rhythmic patterns and complex textures. It can be used to control a wide range of parameters, including volume, panning, effects, and more.

Incorporate Automation Clips into Your Live Performance Setup
Automation clips can also be used in live performance setups. By incorporating automation clips into your performance, you can create dynamic and interesting sounds. Automation clips can be used to control volume, panning, effects, and more.
When using automation clips in a live performance setup, it’s important to keep two things in mind. First, you should set the clip to play back at the correct speed. Second, you should make sure that the clip is triggered correctly. If either of these is off, the automation clip may not sound as intended.
Conclusion
Automation clips are an incredibly powerful tool for creating dynamic and interesting sounds in FL Studio. They allow producers to control a wide range of parameters over time, creating intricate patterns and textures. Additionally, automation clips can be used in live performance setups, allowing for greater control and flexibility.
This article has provided a comprehensive guide to making automation clips in FL Studio. We’ve discussed the basics of automation clips, how to create and edit them, utilizing an envelope controller and the step sequencer, and incorporating them into your live performance setup. With this knowledge, you’ll be able to create complex and interesting sounds with ease.
(Note: Is this article not meeting your expectations? Do you have knowledge or insights to share? Unlock new opportunities and expand your reach by joining our authors team. Click Registration to join us and share your expertise with our readers.)
