Introduction
Making bracelets is a fun and creative activity that allows you to express yourself through fashion. Whether you’re an experienced jewelry maker or just starting out, it’s easy to create your own unique piece of jewelry. This guide will walk you through the steps for making a bracelet, from gathering supplies to attaching the clasp.
Gather Supplies
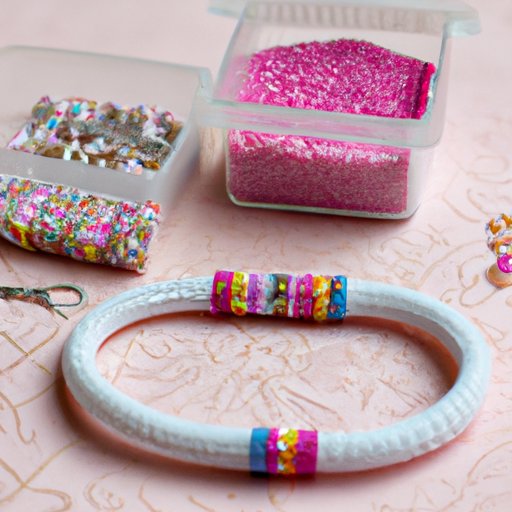
The first step in making a bracelet is to determine what type of bracelet you want to make. Will it be a simple beaded bracelet, a charm bracelet, or something else? Once you’ve decided on a design, it’s time to gather the necessary supplies. These can include beads, charms, elastic cord, wire, clasps, and other findings.
Measure Wrist
It’s important to measure your wrist before beginning, as this will help you figure out how much material you need. To measure your wrist, wrap a measuring tape around it, and then add 1–2 inches for comfort. If you don’t have a measuring tape, you can also use a piece of string and then measure it against a ruler.
Pick a Design
Now that you have your supplies and measurements, it’s time to pick a design. There are many different types of bracelets you can make, such as beaded, charm, or friendship bracelets. You can also create a custom design by mixing and matching different elements. For example, you could combine beads and charms to make a unique bracelet.
String Beads
Once you’ve chosen a design, it’s time to start stringing the beads. Depending on your chosen design, you may need to thread the beads onto elastic cord, wire, or other findings. It’s important to take your time and pay close attention to detail when stringing beads. Here are some tips for successful bead stringing:
- Use the right size needle and thread for the beads.
- Tie knots between each bead to keep them in place.
- Check your work often to make sure the beads are evenly spaced.
- When finished, tie a knot at the end of the thread.
Add Charms
Adding charms to your bracelet can give it an extra special touch. Charms come in all shapes and sizes, from simple metal charms to colorful glass beads. When adding charms, make sure they are securely attached to the bracelet. You can use jump rings, crimp beads, or other findings to attach the charms.
Attach Clasp
The last step is to attach the clasp. Depending on the type of bracelet you are making, you may need to use a lobster clasp, toggle clasp, or other type of finding. You will need pliers to attach the clasp, so make sure you have them on hand before you begin. Once the clasp is attached, your bracelet is finished!
Enjoy Your Creation
Now that your bracelet is finished, it’s time to enjoy your creation! Not only is wearing a handmade bracelet a great way to express yourself, but it can also be beneficial for your mental health. Studies have shown that crafting can reduce stress and anxiety, improve mood, and even boost self-esteem.
Conclusion
Making a bracelet is a fun and rewarding craft project that anyone can do. With the right supplies, a bit of creativity, and this step-by-step guide, you’ll be able to create a unique piece of jewelry that you can wear and show off with pride.
(Note: Is this article not meeting your expectations? Do you have knowledge or insights to share? Unlock new opportunities and expand your reach by joining our authors team. Click Registration to join us and share your expertise with our readers.)