Introduction
When your car won’t start, it can be difficult to determine the cause. The problem could be a dead battery, faulty wiring, or a bad starter motor. In order to properly diagnose and repair the issue, it is important to understand how to test a car starter. This article will provide a step-by-step guide on how to test a car starter.
Analyze the Electrical System
The first step in testing a car starter is to analyze the entire electrical system. This includes inspecting the battery, examining the starter relay and solenoid, and inspecting the wiring harness.
Check the Battery
The battery is responsible for providing power to the starter motor. If the battery is dead or has a weak charge, the starter motor won’t be able to turn over the engine. To check the battery, use a voltmeter to measure the voltage output. The voltage should be between 12.4 and 12.7 volts for a fully charged battery.
Examine the Starter Relay and Solenoid
The starter relay and solenoid are responsible for connecting the battery to the starter motor. If either of these components are damaged or faulty, they may prevent the starter motor from engaging. To inspect these parts, visually check for any signs of wear or damage. If necessary, use an ohmmeter to measure the continuity of the circuit.
Inspect the Wiring Harness
The wiring harness carries power from the battery to the starter motor. If the wires are frayed, corroded, or broken, they may prevent the starter motor from engaging. To inspect the wiring harness, visually check for any signs of wear or damage. If necessary, use an ohmmeter to measure the continuity of the circuit.
Inspect the Starter Motor
The next step in testing a car starter is to inspect the starter motor itself. This includes visually checking for any signs of damage or corrosion, measuring the voltage output, and performing a cranking test.
Visually Check for Damage or Corrosion
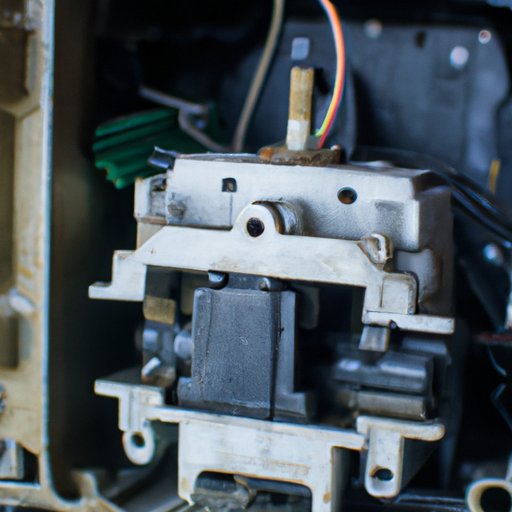
The starter motor is located near the front of the engine block. Visually check the starter motor for any signs of wear or damage. If the starter motor is corroded, it may not be able to engage the flywheel and turn over the engine.
Measure Voltage Output
Use a multimeter to measure the voltage output of the starter motor. The voltage should be between 9 and 12 volts. If the voltage is lower than expected, the starter motor may be faulty and need to be replaced.
Perform a Cranking Test
The next step in testing a car starter is to perform a cranking test. This involves connecting the starter motor to a power source and measuring the current draw. If the current draw is too low, it may indicate that the starter motor is faulty and needs to be replaced.
Connect to Starter Motor
To perform a cranking test, connect the starter motor to a power source. This can be done using a jumper cable connected to the battery or a test light connected to the starter motor.
Measure Current Draw
Once the starter motor is connected to a power source, use a multimeter to measure the current draw. The current draw should be between 40 and 100 amps. If the current draw is too low, it may indicate that the starter motor is faulty and needs to be replaced.
Listen for Unusual Noises
If the starter motor is functioning properly, it should make a clicking noise when it is engaged. Start the engine and listen for any unusual noises coming from the starter motor. If you hear any grinding or squealing noises, it may indicate that the starter motor is faulty and needs to be replaced.
Try the Starter Switch
The starter switch is responsible for engaging the starter motor. If the starter switch is faulty, it may prevent the starter motor from engaging. Attempt to start the engine by turning the key in the ignition. If the engine does not start, it may indicate that the starter switch is faulty and needs to be replaced.
Perform a Visual Inspection
The final step in testing a car starter is to perform a visual inspection. Look for any signs of wear or damage. If the starter motor is corroded or cracked, it may need to be replaced. Additionally, check the wiring harness for any signs of wear or damage.
Conclusion
Testing a car starter requires a thorough inspection of the electrical system and starter motor. This article provided a step-by-step guide on how to test a car starter, from checking the battery to performing a visual inspection. If any of the components are faulty or damaged, they may need to be replaced in order to ensure that the car starts reliably.
Further resources are available if you need help diagnosing and repairing a car starter. Consult a professional mechanic if you are unsure about how to proceed. With the right knowledge and tools, you can successfully diagnose and repair a faulty car starter.
(Note: Is this article not meeting your expectations? Do you have knowledge or insights to share? Unlock new opportunities and expand your reach by joining our authors team. Click Registration to join us and share your expertise with our readers.)
